My first mobile app!
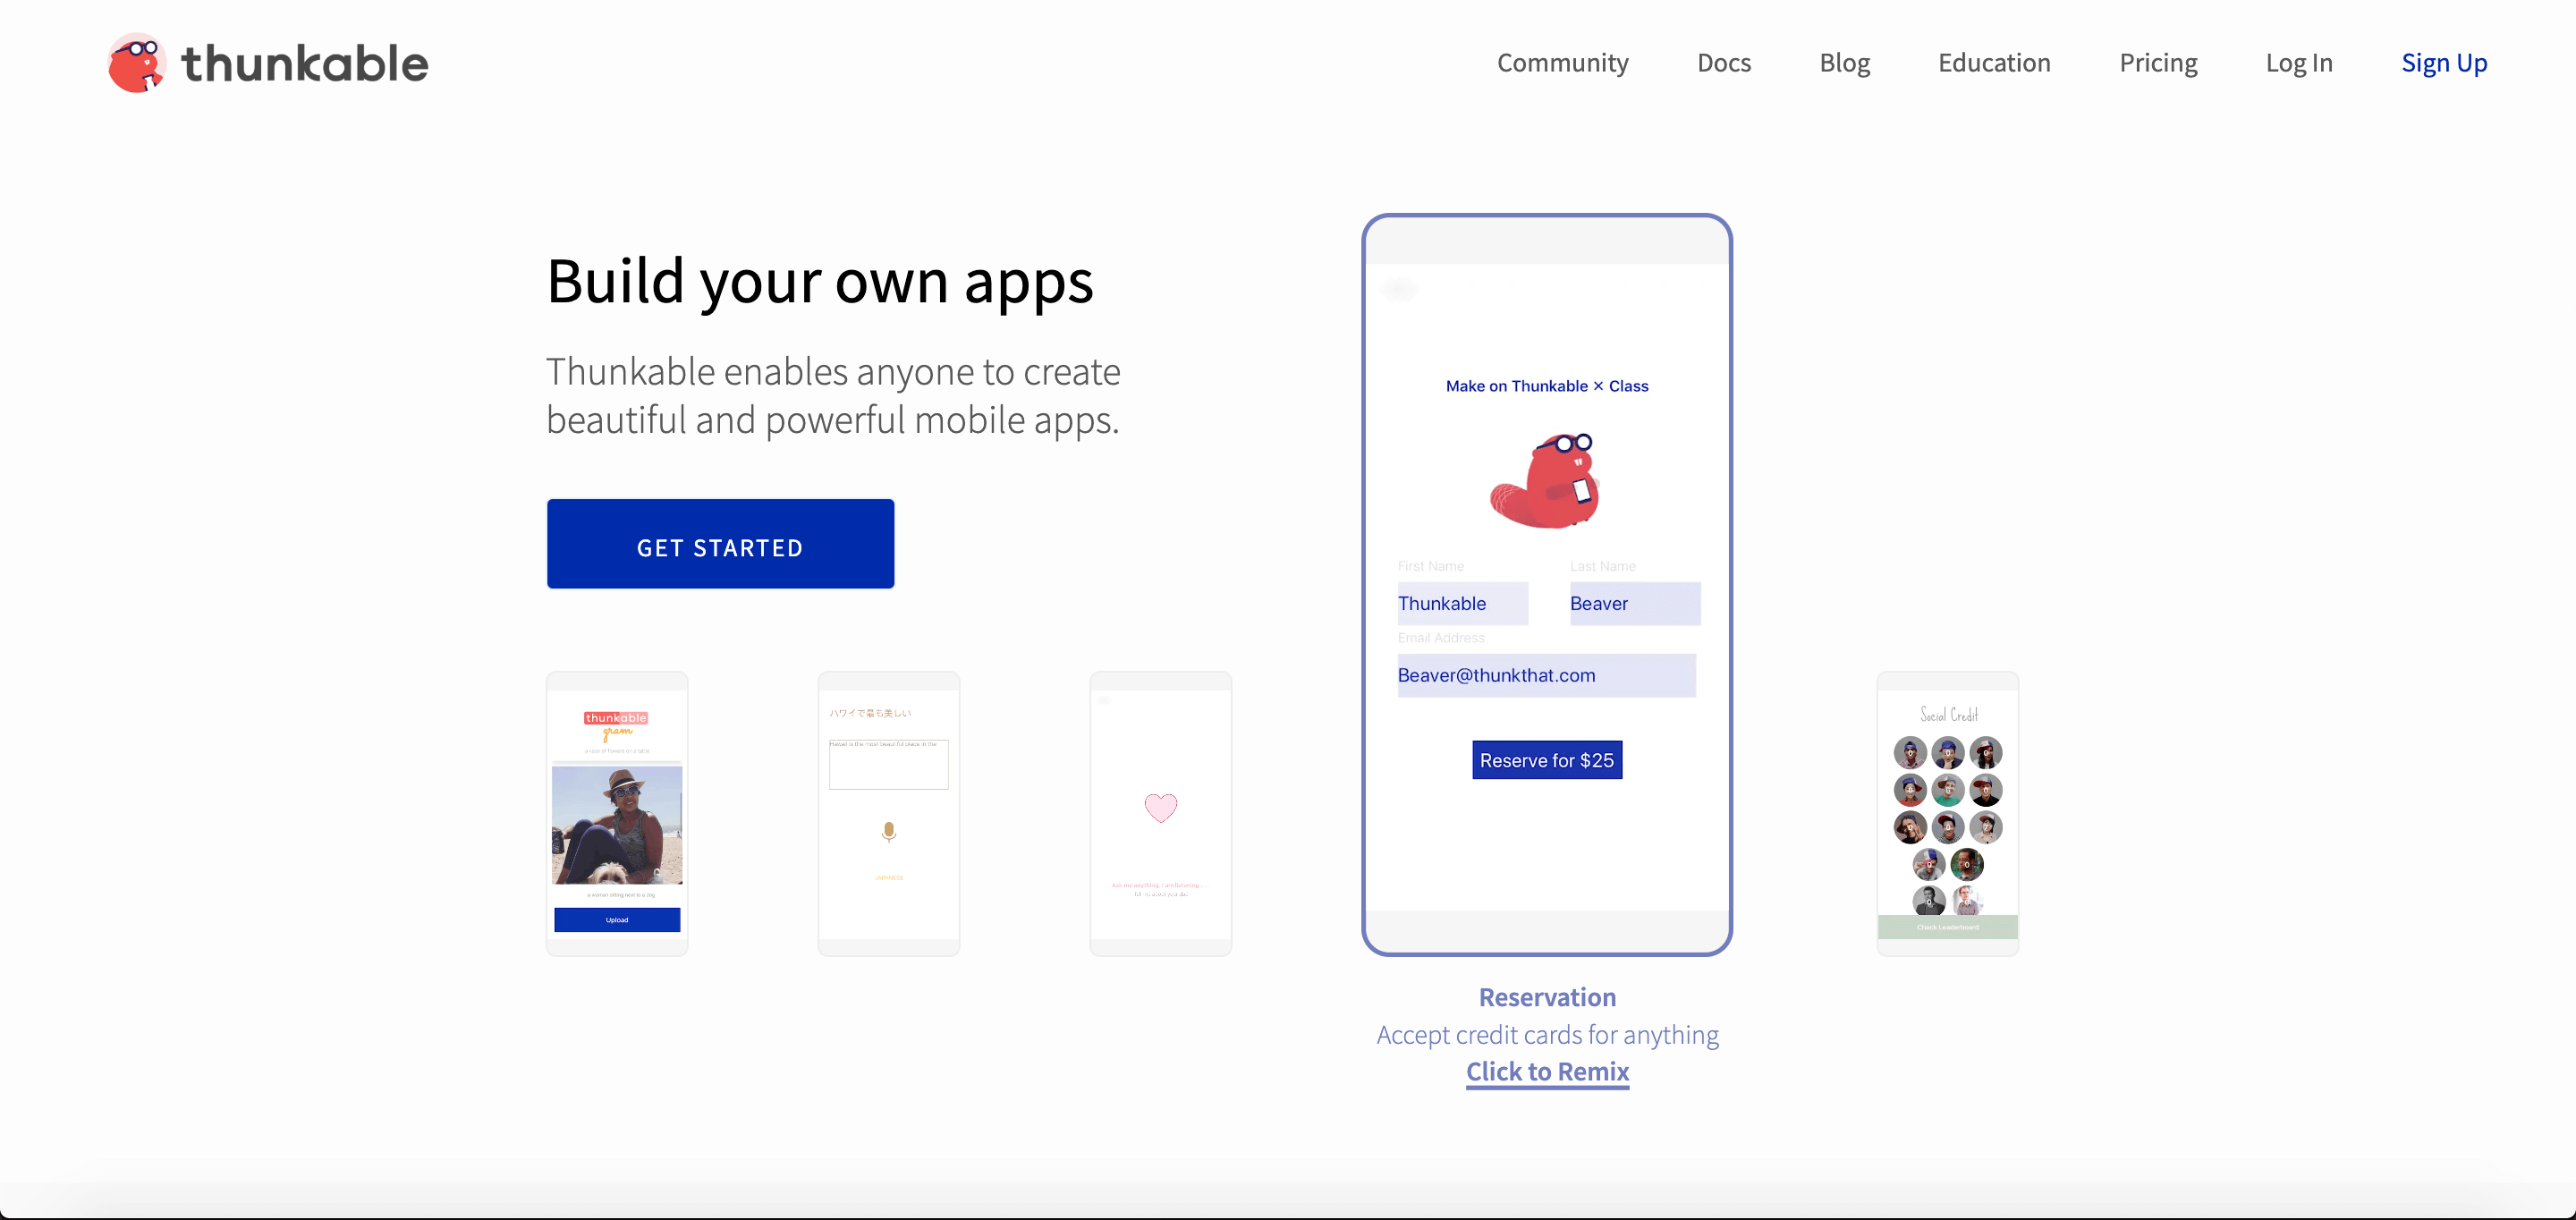
So, you were probably thinking of creating a mobile application but did not know where to start. Welcome to Thunkable! Thunkable is a simple to use platform for developing applications for both Andriod and iOS as it uses block coding, which means that to build an app, all you would have to do is to drag and drop your functions in the build screen.
Registering for Thunkable
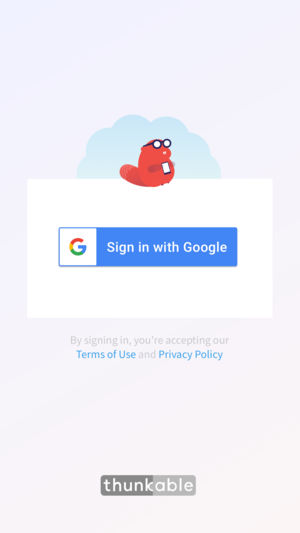
Signing up for Thunkable is very simple. Click the Sign up button on the top right hand corner and sign up either with your Google account or email

After you are done, go to your App Store or Play store to download the Thunkable app as this app is used to visualise the app that you have built in Thunkable.
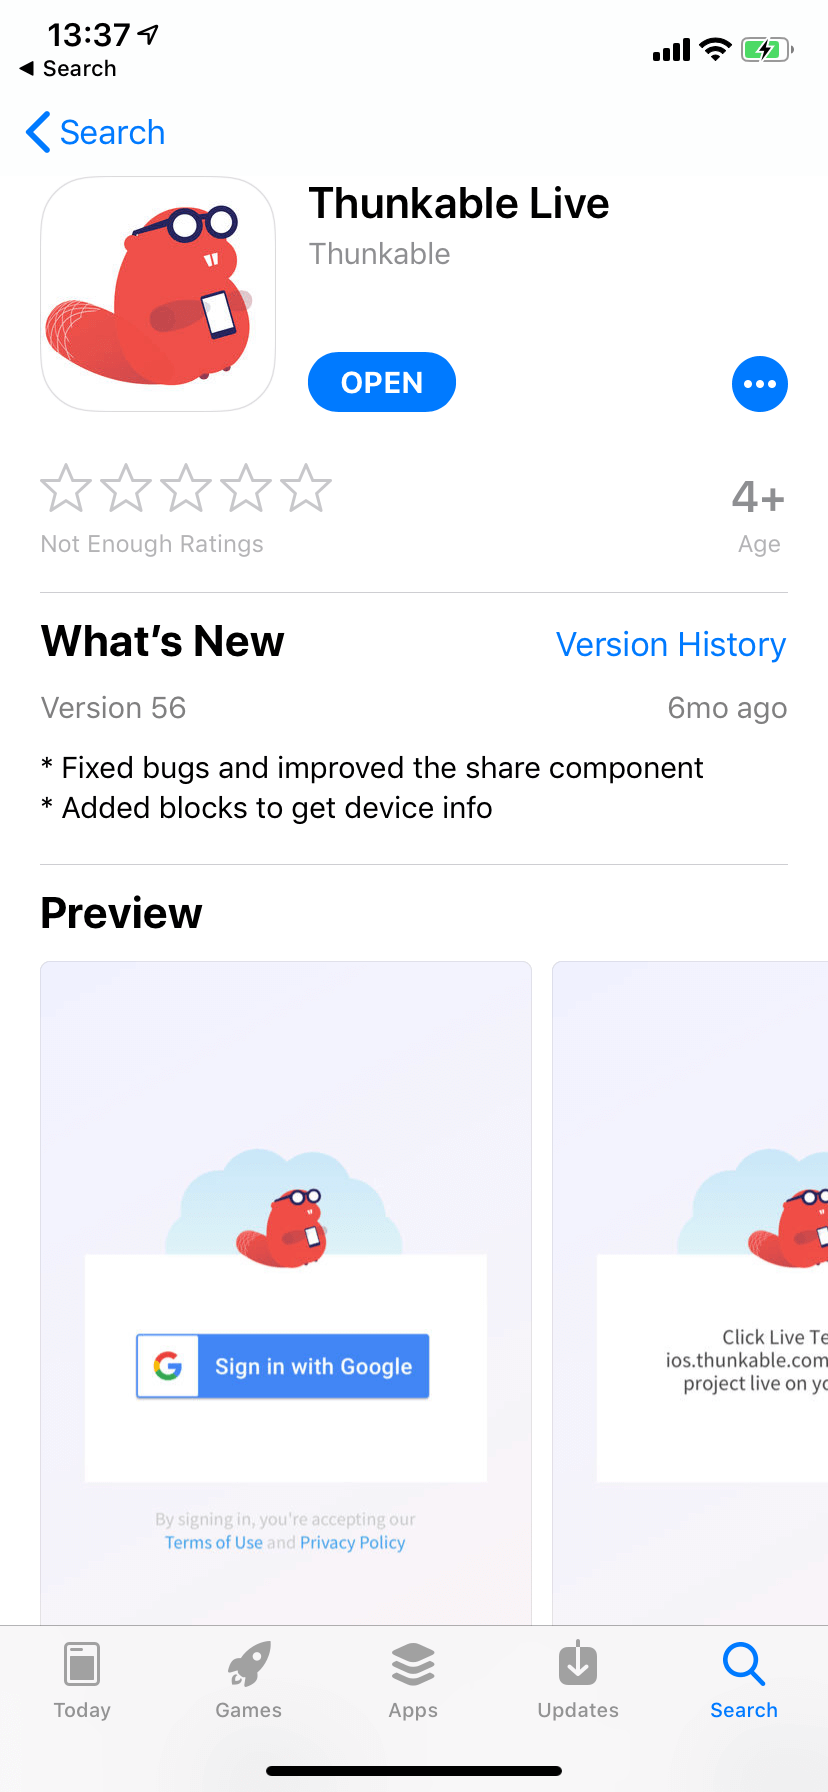
After you have downloaded the mobile app, simply sign in to the same account as the one you registered to Thunkable with.
New Project
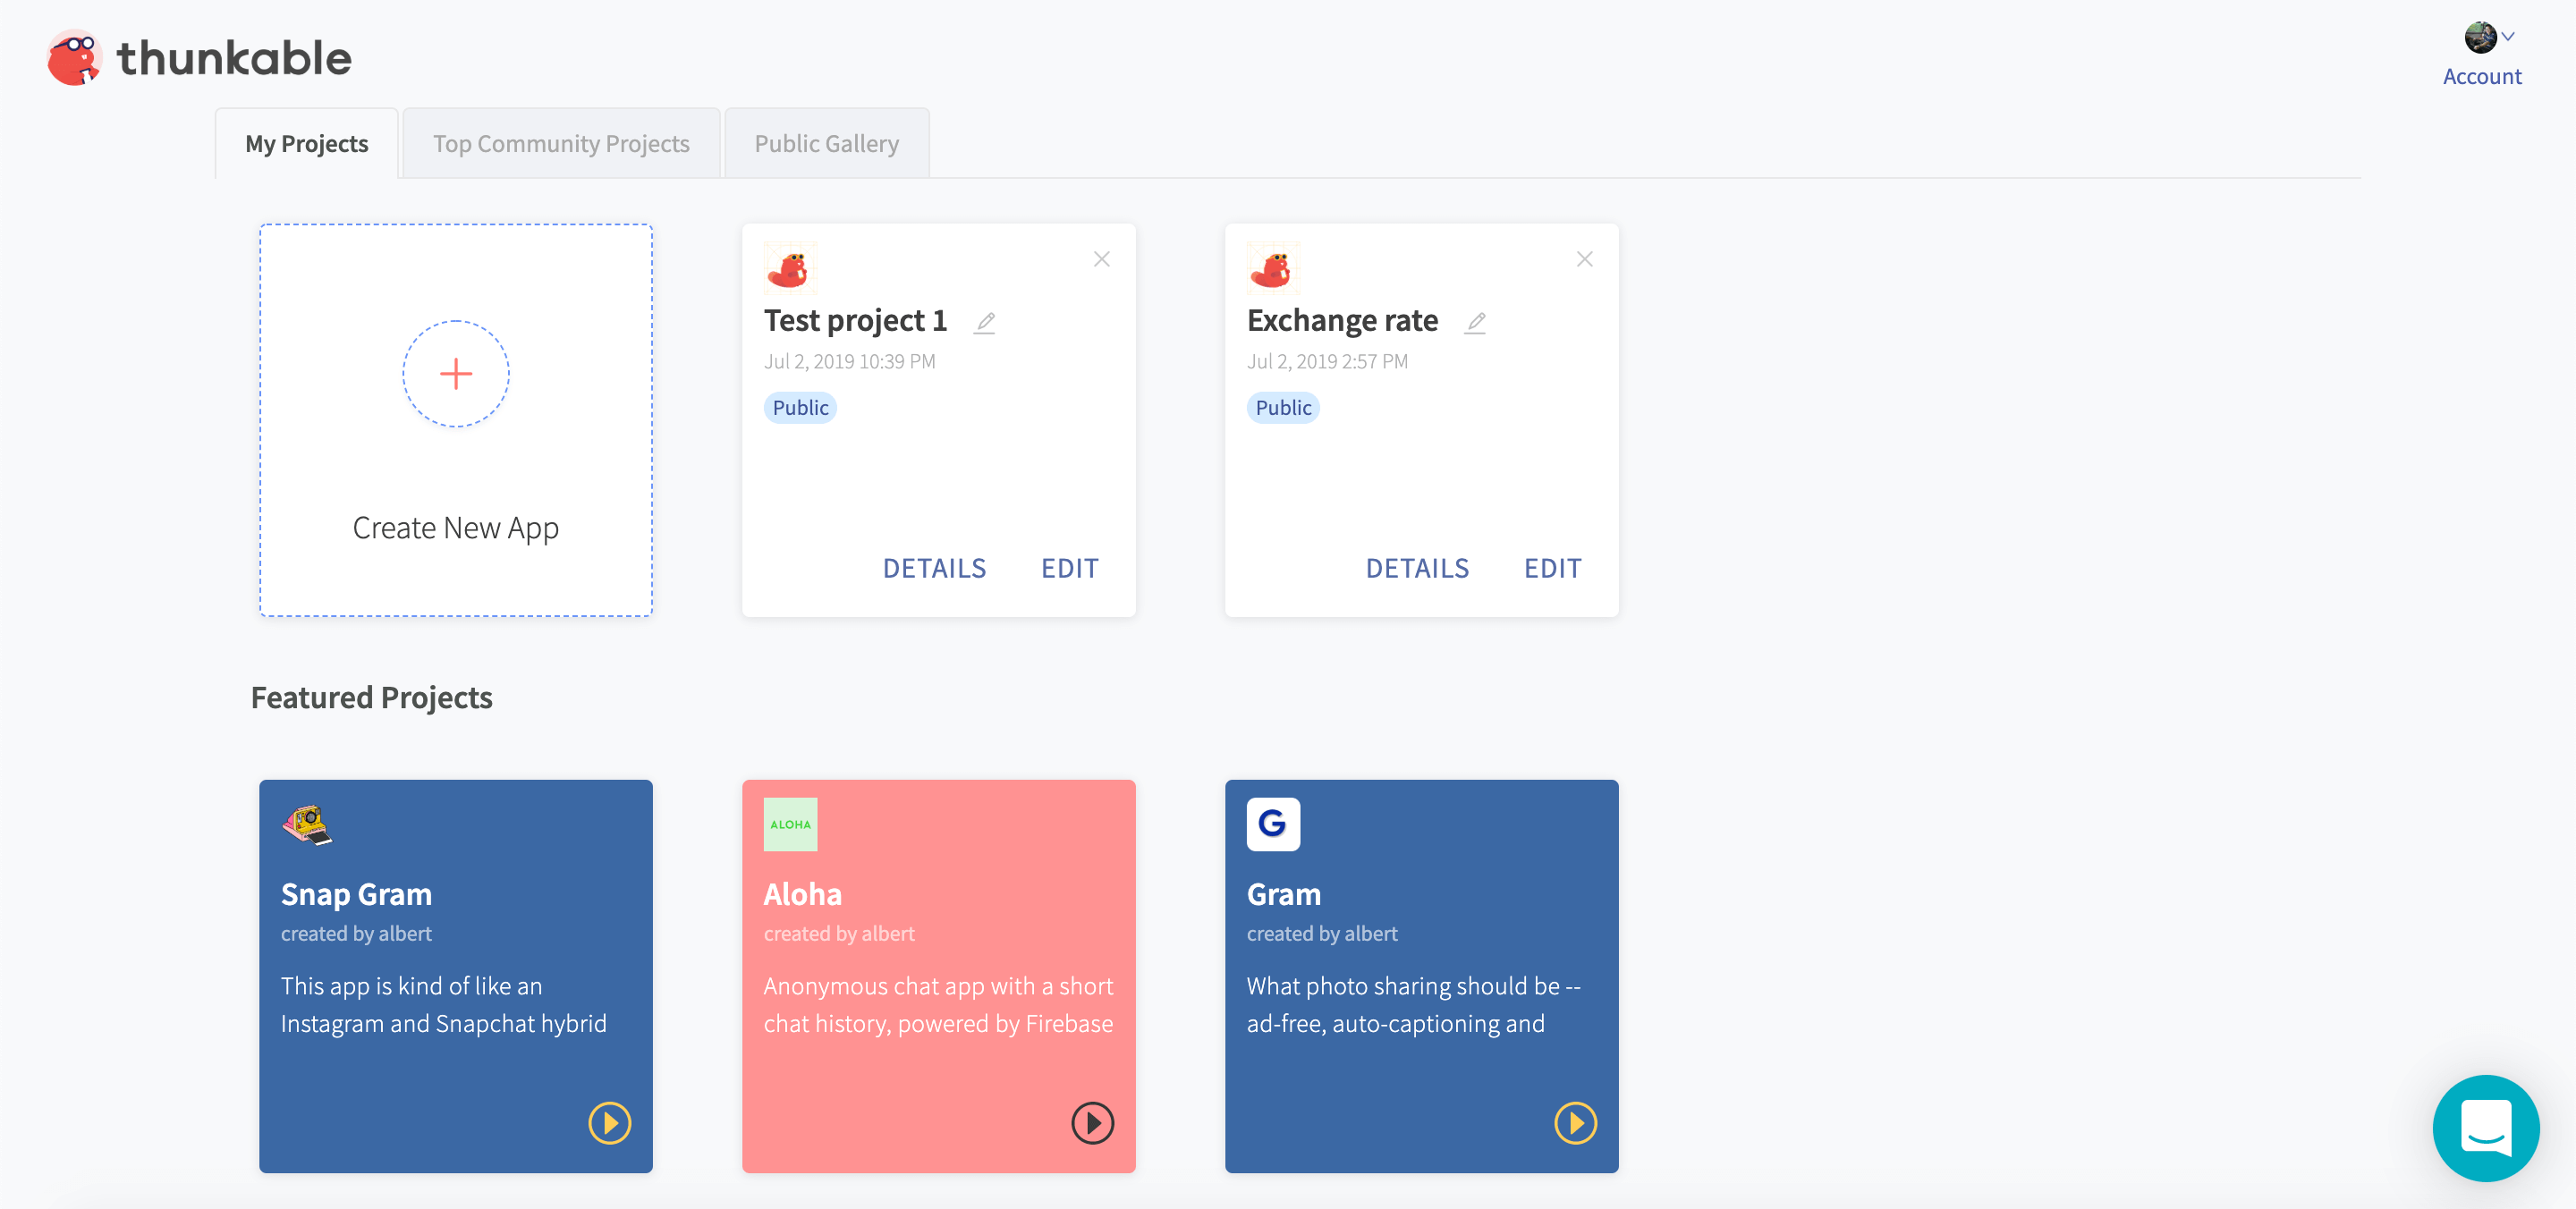
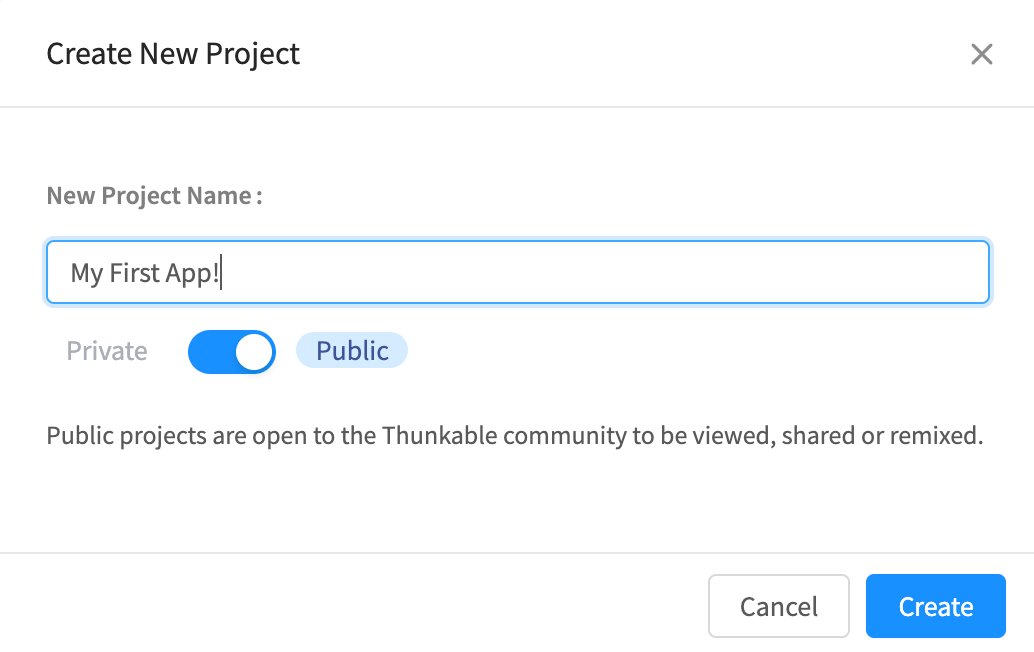
Once you have logged in to Thunkable, click on create new app. Input your app name and click create. You would then see the project page.
Hello World!
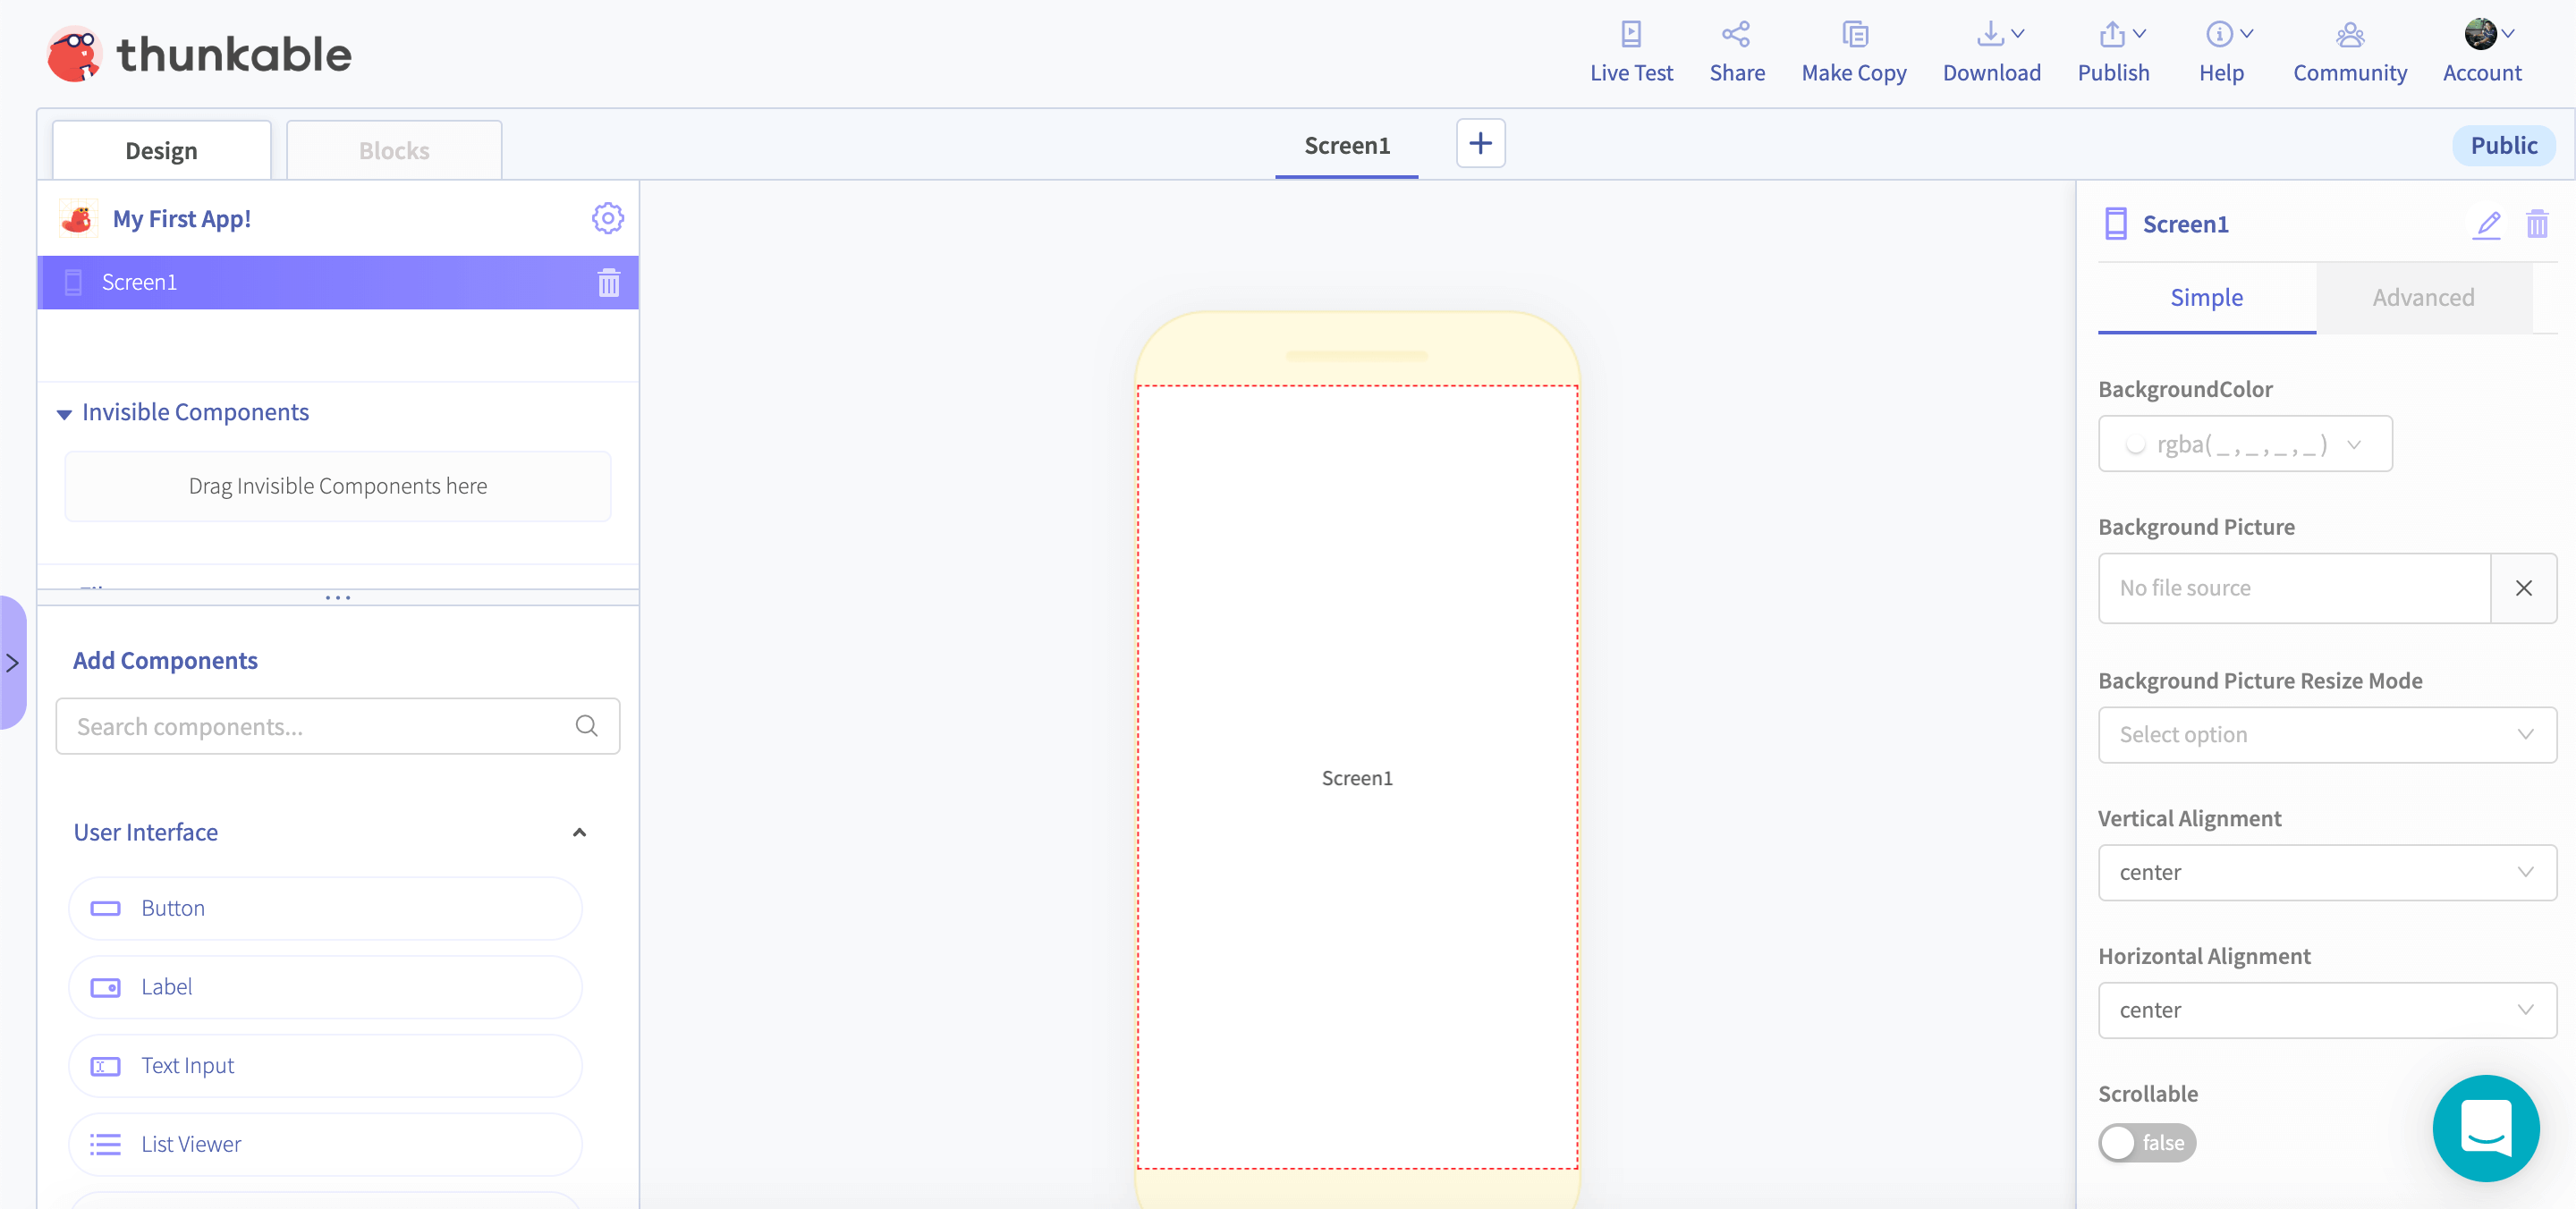
In your project page, you will see that there is a mobile screen and some items to the left hand side of the page. The awesome thing about Thunkable is that you can drag and drop functions that you want in your mobile app!
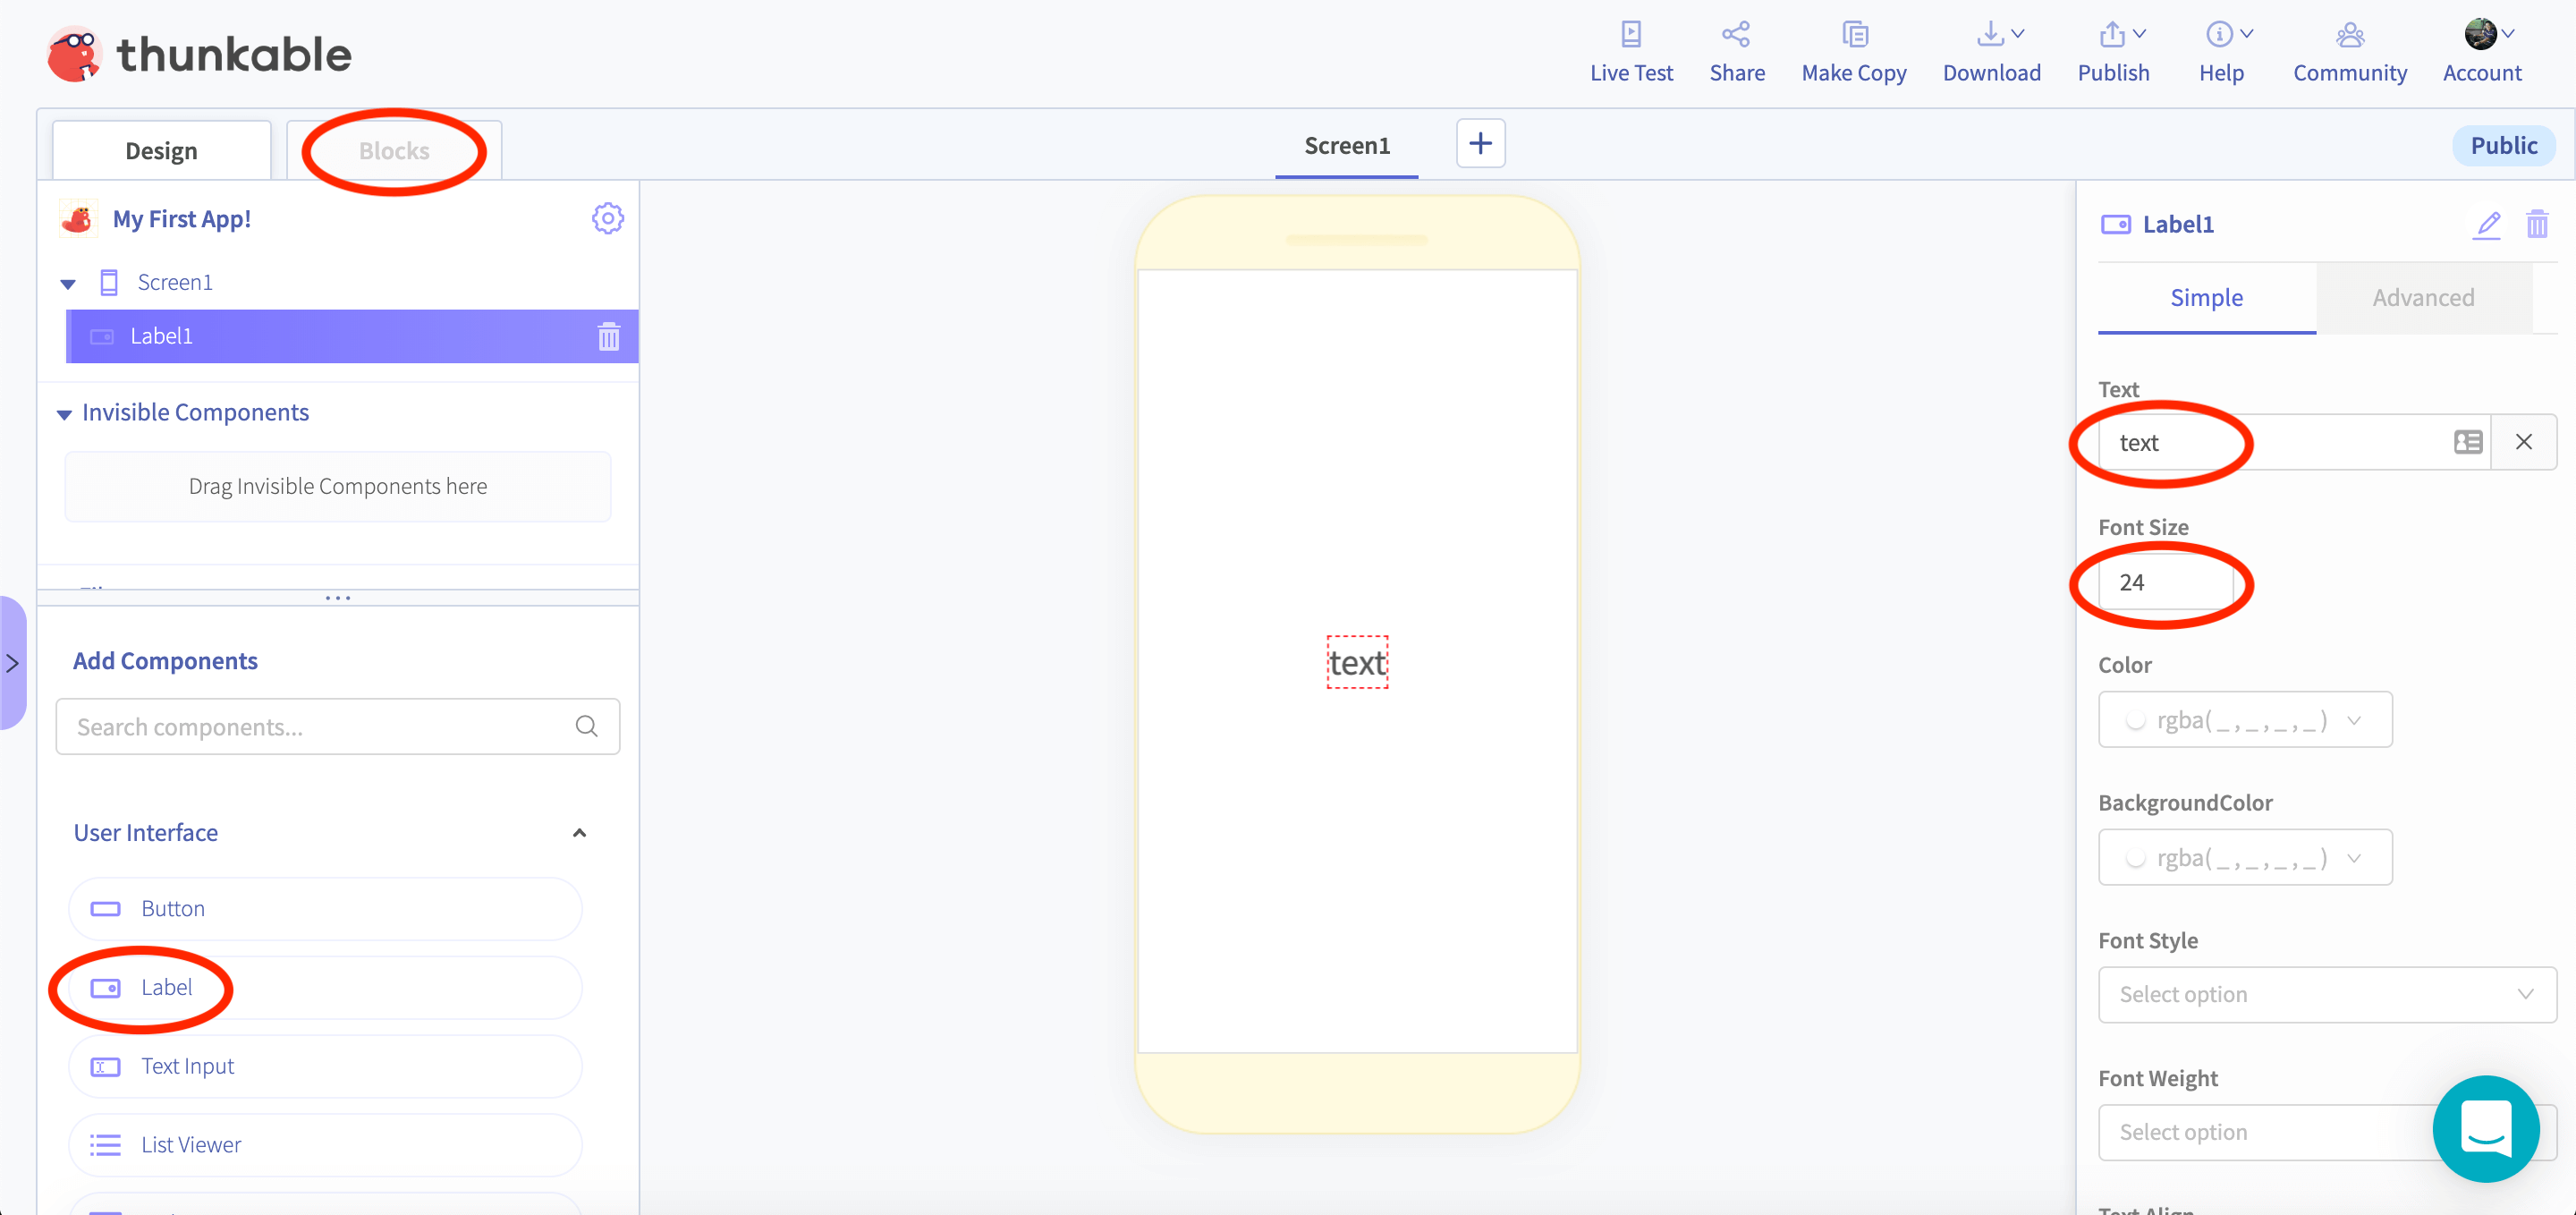
Let us start off with something simple. We are going to add a text to our app! In the Add Components menu, drag and drop the item called label onto the screen. Rename the label to text and set the font size to 24.
After you have configured the label, on the top left hand corner of the page, navigate to the tab called blocks.
This is the place where you would do your programming!
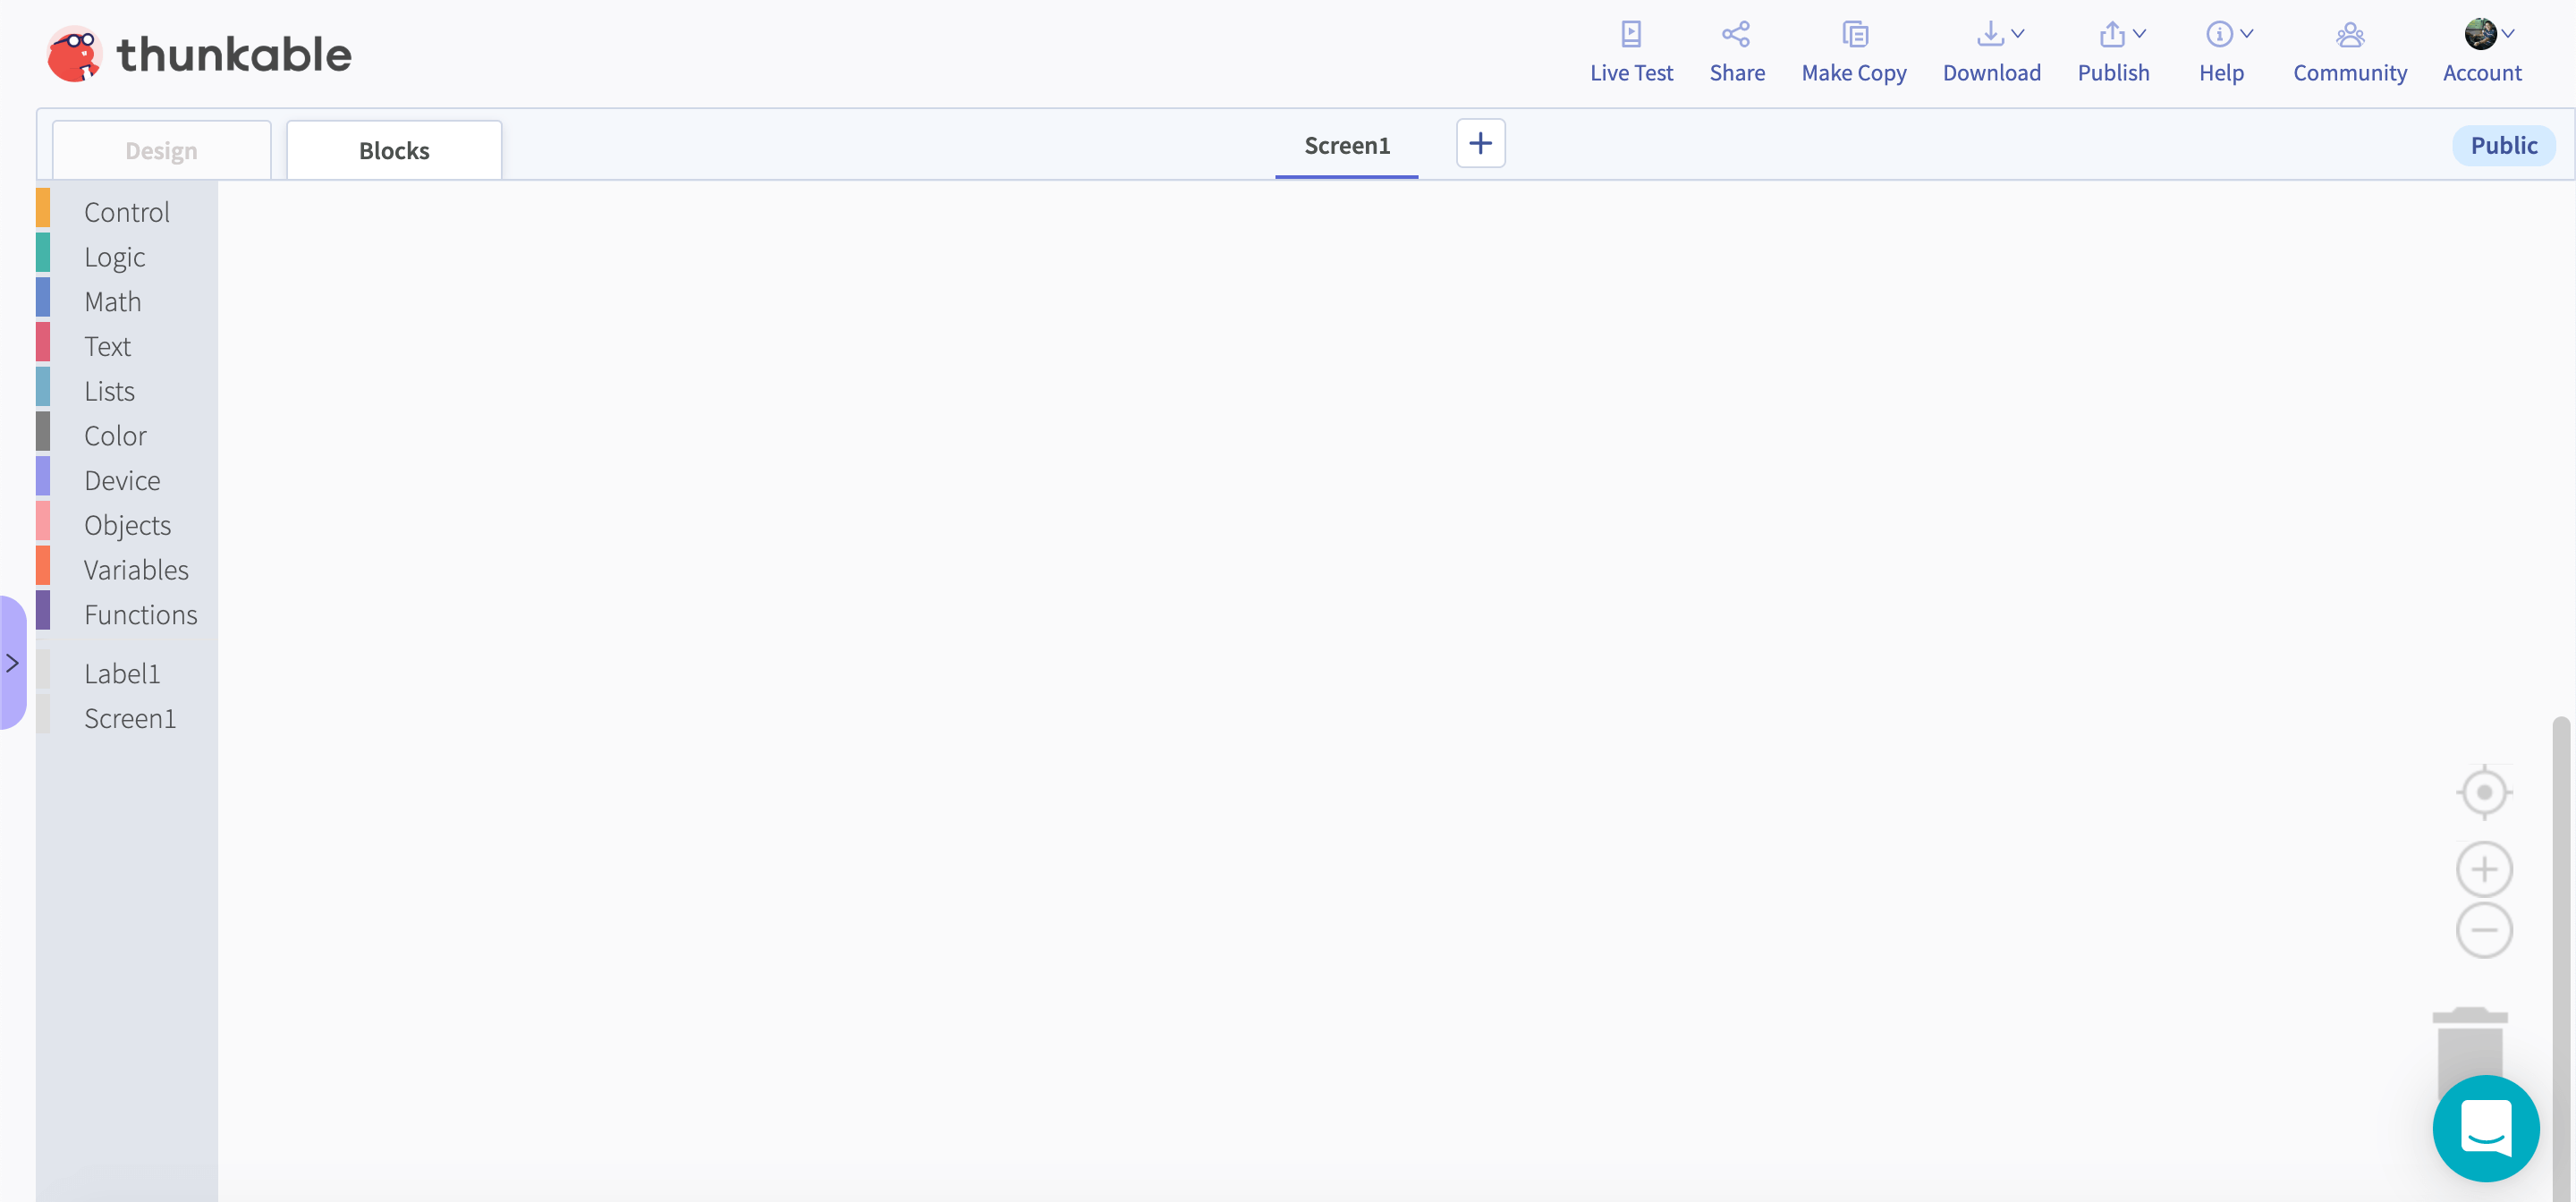
Programming in Thunkable is very simple as it is also drag and drop. Simply navigate to the function that you would like to insert and place it inside the code section. On the sidebar, click on Screen1 and drag out this component:
What this does is to tell the app that when this screen opens in the app, do something (that you will define). Next, click on Label1 and drag out this component:
This is to tell the label we had just created to display a certain text. In the text box, type in Hello World.
Next, click on Live Test located on the top of the page. Open your thunkable app and you should be able to see your app appearing in the screen!
Let’s add some interaction!
It would be great to interact with the app that you create, so let us create a button. Go to the design tab and then drag out the button object onto the screen. Rename the button to Click to activate text.
Go back to the Blocks tab and delete the Screen1 function. Instead replace it with this from Button1.
This function means that whenever I press the button in the app, the text would change to Hello World.
Try it out in your Thunkable app!
Next, we would want to add a slider into the app. Go to the design tab and then drag out the Slider object onto the screen.
Go back to the Blocks tab and drag this block of code into the coding area. After which drag the from label set text to function into the block. Replace the text box with the value block.
Now you can try it out in your Thunkable app!
Moving your app objects
At this stage, you may want your slider, button and label to be slightly further apart as they seem too close, don’t they? Unfortunately it would not be as simple as dragging and rearranging the objects.
we will need to adjust the position properties in the Design tab. On the right hand side, there would be the area for you to adjust the object properties.
There is the position adjustment in that area and adjust the margin of the object. You would realise that the object would move as you edit the margin. Adjust the margins till the application objects are futher away from each other.